
Module
Horn Construction
The antenna itself, built from insulation board, lumber, and a can from the paint aisle.
6 lessons, in the order they are meant to be worked through
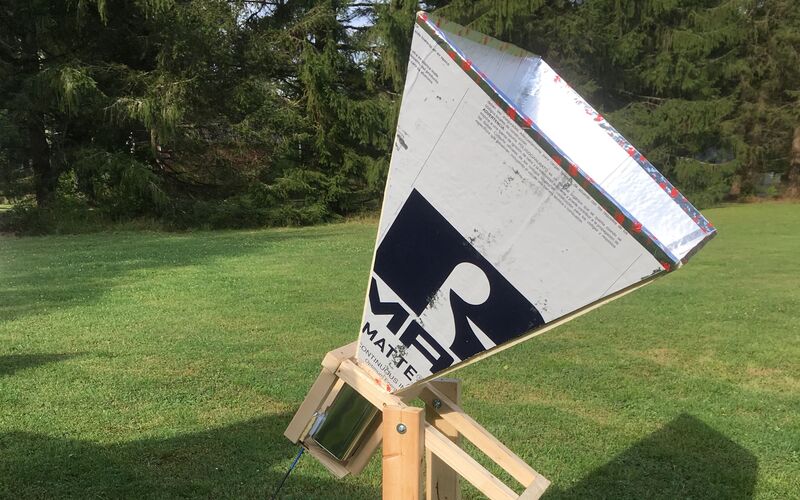
The horn is the telescope. The antenna is pyramidal, with a wooden mount. It uses locally available tools and materials: foil-faced insulation board, aluminum tape, and dimensional lumber. A one-gallon square paint-thinner can forms the feed.
The cradle holds the horn and lets it turn on one axis, so elevation is easy to set. Bolt it to a base of your choosing. The wooden stand described here is sturdy and inexpensive. It is no wider than 75 cm, so it fits through a standard doorway.
These lessons take it from a flat sheet to a finished, mounted instrument. The electronics that go behind it are in the Receiver Electronics module.
The cradle and stand lesson includes materials, drawings, assembly steps, and a demonstration video. Each assembly lesson also links to printable PDF instructions.
6 lessons in this module
-
What is Needed to Build a Horn Radio Telescope
Overview of the different parts of a horn telescope
-
Horn Construction Information
An overview of horn construction is described, with appropriate links
-
Horn and Can Assembly
Cut the horn panels, join the seams, and attach the can receiver.
-
Assemble the Can and Antenna
Prepare the metal can, solder the copper probe, and install the feedthrough connector.
-
Build the Cradle and Stand
Build the wooden cradle and base that support the horn telescope.
-